If you’re unsure of the levels of Radon in your home you’ll want to perform a Radon water test. Doing so will give you the peace of mind of knowing how much Radon might be in your water and if your water is safe for your family.
In about 10 minutes of time and for an average cost of $35-$40 you can do the test yourself at your own convenience. The steps are simple and we’ll show you exactly how to do them.
For the purposes of this article we’ll assume that you’ve already done your homework and you know the risks associated with Radon in both water and air supplies.
If you do still have more questions about Radon or its health effects, feel free to review the information and resource links in the Radon Resources Section of our website.
You can also go directly to the State of Maine Radon Homepage for additional support and resources as well.
So, let’s get right down to business and show you how to perform your own Radon water test.
What you’ll need
- Radon water test kit
- Glass or plastic bowl at least 4” deep
- Paper towel
- Pliers (possibly)
1. Order or pick up your Radon Water Test
Make sure to have your water samples tested by a State certified testing laboratory or directly through your State Lab itself. Local testing facilities like Northeast Laboratory Services are monitored and regulated by the State to insure proper and accurate testing methods.
Most state certified labs will happily mail a test kit to you at no cost. Typically you will be charged for testing once your samples have been submitted to the lab.
2. Open the contents of your Radon water test kit
A typical Radon water test kit will contain 2 small collection bottles and have simple paperwork for filling in your address, contact info and sample dates etc. Take out the 2 sample bottles, remove their caps and set them next to an unfilled glass bowl (see below).
3. Run water for 10 minutes
Choose any faucet in your home such as a kitchen faucet. Remove the Aerator screen on the end of the faucet itself. Usually these can be removed by hand. If it’s too tight to remove by hand, a small pair of pliers will typically do the trick. There is no need to sanitize or disinfect the spout before running the water or collecting your samples.
Turn on the cold water supply at full flow (keep an eye out to make sure the sink drains properly and doesn’t start to fill up to quickly). Run the water for about 10 minute’s time.
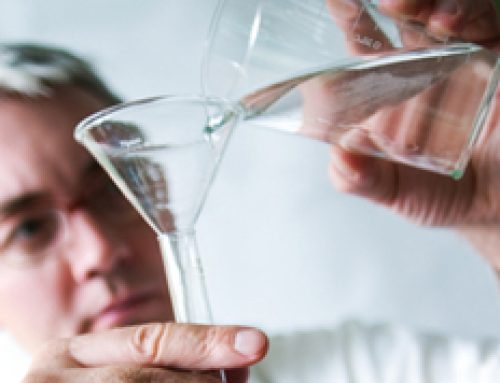
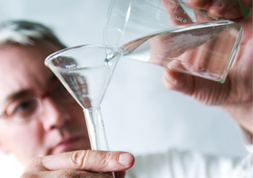
4. Fill bowl with cold water
Any standard kitchen bowl will work fine as long as it can be filled to a depth of around 4” or 5”. Clear bowls work great since they allow you to see what you are doing while collecting the samples.
5. Fill collection bottle
Using one of the 2 collection bottles, unscrew the cap and lightly push or tap on the paper seal found on the inside of the cap. This will help to rid air bubbles in the following step. Set the cap down for a moment.
With the collection bottle in your hand, completely submerge the upright bottle in the bowl of water. Make sure the opening of the bottle is facing upward and is completely underneath the surface of the water. Do this until all air bubbles have stopped rising to the surface.
6. Cap the collection bottle
While the collection bottle is still submerged; use your other hand to follow the same procedure with the bottle’s cap. Submerge the cap upright until all the air bubbles have completed dissipated.
With both the collection bottle and cap still submerged, begin to simultaneously tilt the two toward each other until they are completely horizontal and facing one another, under the surface of the water.
Push the cap onto the bottle and begin threading until it becomes hand tight. Make sure both the bottle and the cap stay submerged while doing this step.
Remove the capped bottle from the water. Dry the outside of the filled sample bottle with a paper towel then place the sample back into the sample box it came in.
Repeat this exact process for the second sample bottle in your kit.
7. Mail or drop off your Radon water test samples to the lab
Most labs will typically take 2-3 days to process your samples and email your test results back to you.
If your results come back above the recommended maximum limit of 4,000 pci/L (picocuries), the lab will flag the result and provide a notation on the report explaining the results.


